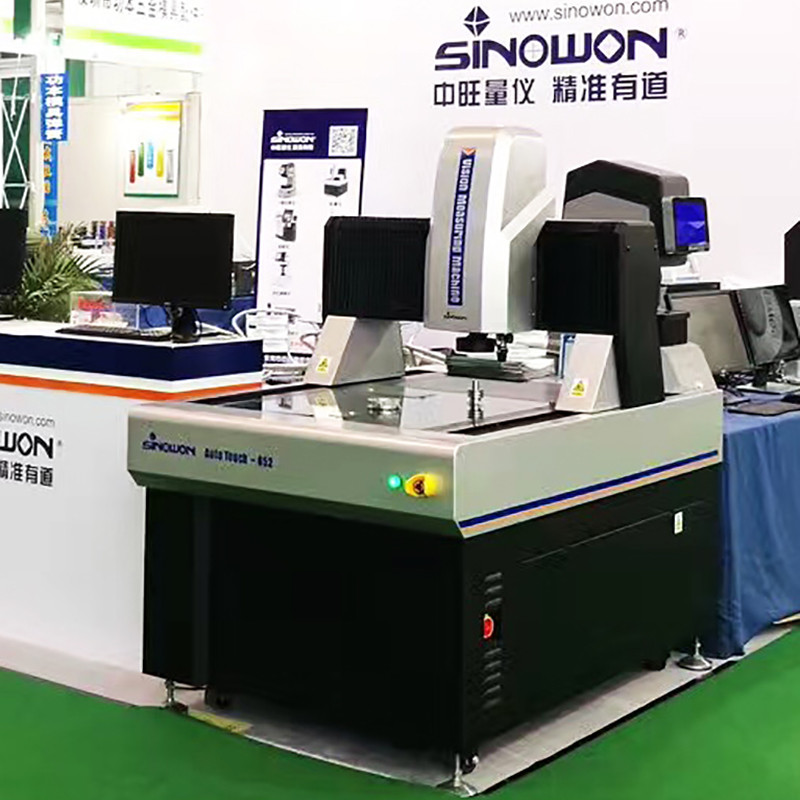
Vision measurement systems are the ideal choice for QA labs and quality assurance departments in manufacturing environments. They are easy to use and highly customizable based on application.
They can quickly inspect hundreds or thousands of parts per minute, eliminating human error. This helps reduce scrap and materials waste, which saves money and increases profitability.
Accuracy
Vision measurement systems utilize a charged-coupled device (CCD) to detect light and use software to transform the data into an image. This allows the system to inspect 2D and 3D features that may be too small to measure with a touch probe.
These systems are ideal for detecting misaligned components that could cause the machine to jam, which would result in costly downtime. Additionally, they can detect the position and orientation of the part to ensure that it meets internal and industry standards.
They also provide accurate measurements in a fraction of the time it takes for trained operators to perform this task manually. This reduces production downtime and helps businesses meet deadlines. Additionally, they can prevent parts from becoming damaged by reducing physical contact between the part and the test system.
Efficiency
Vision measuring systems, also known as VMMs or vision measuring systems, give automatic machines diversity, flexibility and reconfigurability. They can be quickly and easily reprogrammed to accommodate production line changes without replacing expensive hardware.
Machine vision systems are able to identify and locate flaws that can’t be detected by human eye, making them an excellent choice for QC inspection in manufacturing environments. This ensures that products meet specifications and reduces scrap.
The basic components of a vision system are a video camera and a computer that processes the image. The software uses advanced algorithms to determine the location of the object’s edge, which is determined by the difference in brightness between light and dark areas of the image. These systems often measure 2D or 3D parts and can recognize part shapes, barcodes and foreign objects.
Safety
Vision measurement systems are often used in the automotive industry to verify that complicated assemblies, such as electric vehicle motors, are aligned properly before they leave the plant. These machines use a computer, camera, lighting source and intelligent detection software to closely examine work performed by skilled workers to ensure it was completed within specifications.
Like optical comparators, these machines are highly customizable based on the specific application. You can find models with different sensor resolutions, fields of view, presentation angle, and lighting quality.
It is important to perform a Type I gauge study before installing a vision inspection system. This process maps the pixel measurements from the vision sensor back to actual world dimensions in inches, millimeters, or microns. These calibrated measurements can then be used to evaluate the accuracy and performance of a machine.
Reliability
Vision inspection systems eliminate human error from the manufacturing process by identifying and correcting errors during production. This helps reduce scrap and waste, boosting productivity and reducing operating costs. Additionally, the elimination of physical contact between the test system and manufactured products prevents damage, which saves money on maintenance fees and repairs.
Vision measurement systems use high-resolution cameras and a variety of lens and lighting options to capture images of parts and components. These images are then processed using advanced algorithms to determine whether an item meets quality standards.
Most systems are compatible with CAD/DXF and a touch trigger probing system, which can make them a great choice for applications that require both 2D and 3D measurements. They also have the ability to perform a variety of different functions, including locating and counting objects.
Cost
Vision systems can be used to measure, inspect, evaluate, and identify still or moving objects. They can be cheaper than a coordinate measuring machine (CMM), especially if your needs are limited to smaller features.
In a vision system, digital images are captured by the camera and then constructed in software pixel line by pixel line. Depending on the application, there are a number of vision solutions that can be used, from simple, low-cost vision sensors to high-end, high pixel count cameras.
As a leading US-manufacturer of metrology products, Starrett offers a wide range of vision measurement systems to suit almost any requirement in manufacturing environments. They are ideal for QA labs and quality assurance departments on the shop floor. Integrated into a wider automation system, the vision measuring systems are easy to use and cost-effective.
